How To Prepare Earthworm Humus For Your Garden At Home
You can make high-quality compost yourself in a simple and discreet way, on balconies and terraces.
Making compost with worms allows you to take advantage of the organic waste from the kitchen and obtain a top quality fertilizer. It is ideal to use in home gardens that we can have on balconies and terraces, where it is not possible to make a compost pile directly on the ground. But above all the vermicomposter is a way of knowing and participating in the processes of life.
When it comes to converting organic household waste into high-quality compost, the most difficult obstacle to overcome is the instinctive refusal to work with worms, however indispensable they may be for the fertility of the earth.
A small plastic or wooden cabinet can host a few thousand California worms, which transform organic kitchen and plant waste into extraordinary eco-friendly fertilizer. There is no fear that the worms will escape – they flee from the light – or produce odors. On the contrary, the vermicomposter is very clean and comfortable.
What is worm castings?
The most common vermicomposter consists of several overlapping perforated trays or drawers. The base has a tap, to collect the liquid that comes off, and the entire furniture is usually raised on legs.
If you are fond of DIY it can be built with wood, but in specialized stores and on the internet there is a wide range of models with different materials, shapes and sizes.
Once you have the vermicomposter, you will need the worms, which are also found in specialized stores. The usual thing is to start with a package of about a thousand – in round numbers – California red worms ( Eisenia fetida ).
The first thing to do is prepare their bed on the first tray, which is above the base with the tap. In this tray a piece of raffia bag is placed , which will act as a filter, and coconut fiber is spread on top (it is usually sold in the form of a dry and pressed tablet that must be rehydrated).
Near the sides of the tray – the center is left free – the first 250 grams of food are buried in the coconut fiber: vegetable waste from the kitchen. Highly acidic foods like oranges or lemons don’t appeal to them. Instead, the leftover bananas or strawberries love them.
Small amounts of wet paper or cardboard can be added, as well as plant and flower debris. You should never give them meat or fish, or leftover meals prepared with sauces.
From tray to tray
After putting the first meal , the worms are put in, which will hide quickly to avoid the light. When the first tray is processed, that is, filled with humus until it touches the upper tray, stop feeding the first tray and put the vegetables only in the second.
Then the worms will move towards it. Proceed in the same way with the third and when it is full it is time to collect the humus from the first which, once empty, will go to the top position.
Some worms may remain in this first tray, but if you do not want to remove it with your hands, you can remove the piece of raffia and leave it without a lid.
The light will cause the worms to take refuge in a lower tray. The collected humus is kept in a raffia bag, in a dark, dry and ventilated place. The time that passes between the opening of the vermicomposter and the extraction of the first tray ranges between 2 and 10 months, depending on the number of worms, the size of the trays, the feeding and the temperature.
Humidity and temperature
For the worms to live comfortably, it is necessary that their environment has 70% humidity. Normally, that provided by food is sufficient, but if the material crumbles easily, it means that there is a lack of water.
So you have to water moderately – first you have to open the lower tap and put a bucket to collect the accumulated liquid. On the other hand, if the humus is squeezed and liquid comes out, it is a sign that there is excess moisture.
In this case, you should stop adding fresh remains and put more dry leaves and chopped cardboard. Regarding the temperature, the ideal range is between 15 and 25 ºC, although the worms work between 4 and 35 ºC.
Making your own vermicompost is not difficult and the plants and the environment are grateful for it.
Tips for preparing worm humus for your garden at home
- The vermicomposter: there are models in recycled plastic or wood, with different number of trays. It is necessary to place it in a place safe from direct sun, rain and wind. If the worms are fed correctly, the vermicomposter does not give off odors or attract insects.
- Liquid fertilizer: once a week the tap is opened to collect the dark liquid that accumulates in the lower bucket. It is an ideal fertilizer for indoor and outdoor plants (for this, one part is diluted in three of water). It helps to balance the soil, which prevents the appearance and growth of pests.
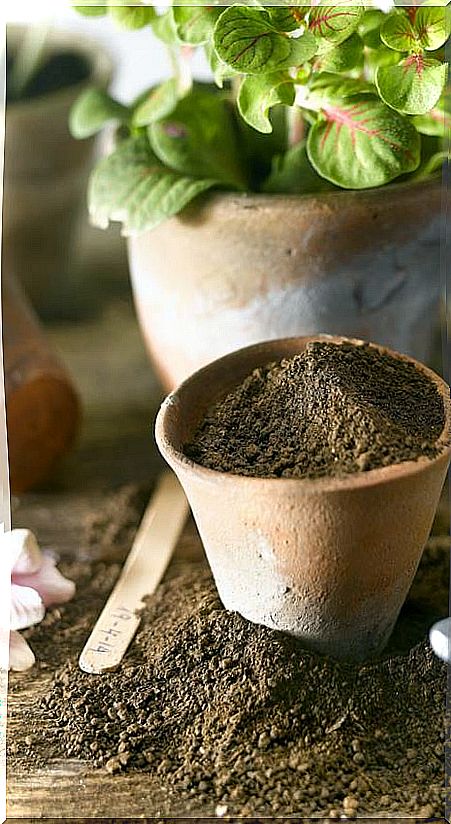
- Worm humus: it is collected from the trays. It is black in color and has a spongy texture that melts in your hands. You have to store it in a bag and wait between 15 and 30 days before using it. It is a very nutrient-rich fertilizer that serves to strengthen plants, especially in spring and autumn.